AI photography for cosmetics and skincare
Lenci is a virtual studio for photographing cosmetics and skincare with AI: you build a still life of your product on seamless paper in a colour you choose, or a beauty close-up with a model, then generate the picture for free with your own ChatGPT, Gemini or Grok account, with no Lenci credits; your AI provider's limits apply.
Try the skincare scene How to shoot free with your own AI
Last updated
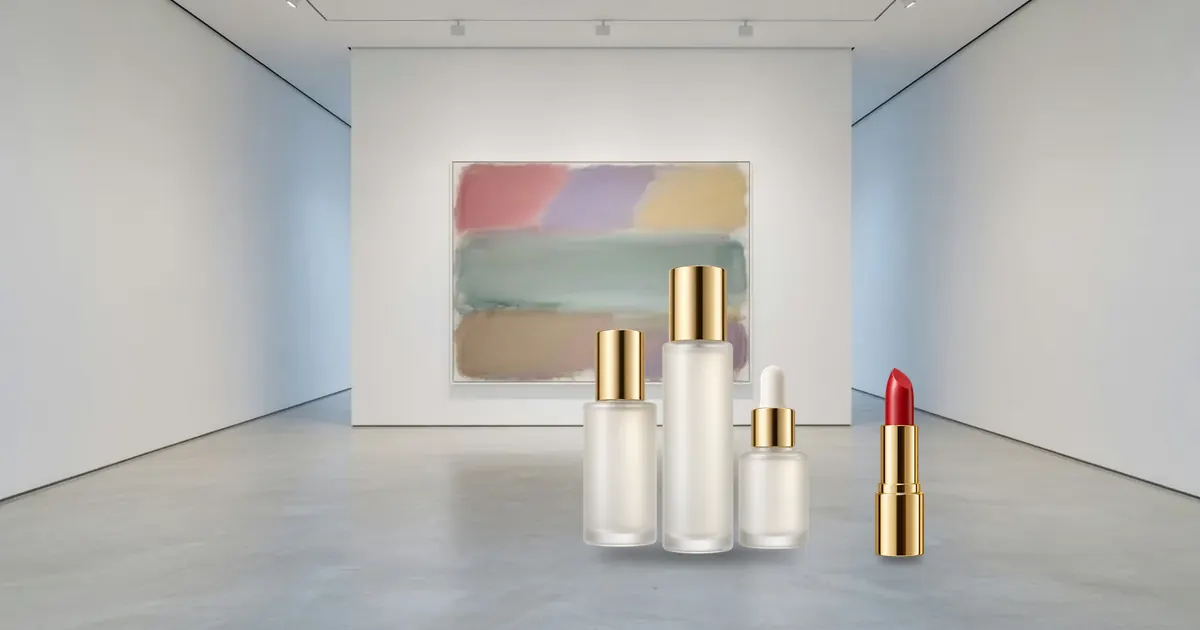
Still life for skincare
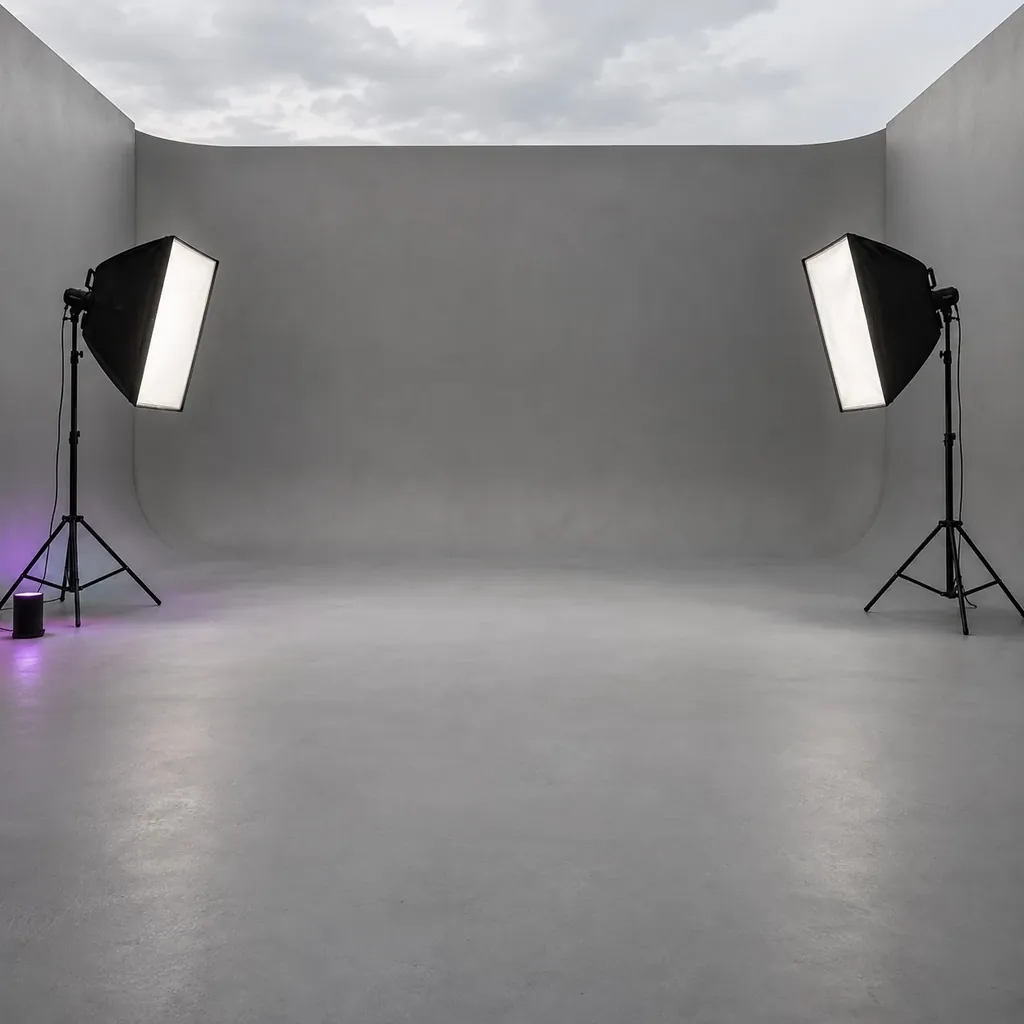
A skincare picture usually starts with a calm backdrop. Choose “Studio · Day”, colour the “Seamless paper” to suit your packaging, and add simple catalogue props such as a “Black cube”, a “Floor vase” or a “Pedestal” to build a balanced composition around the product.
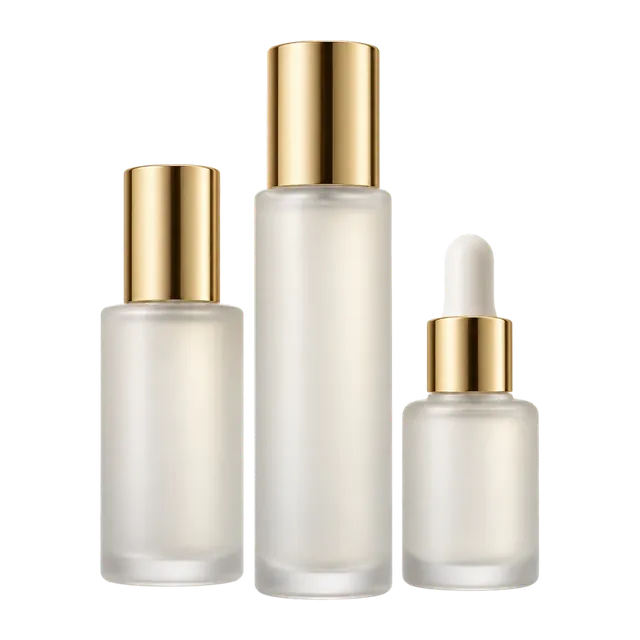
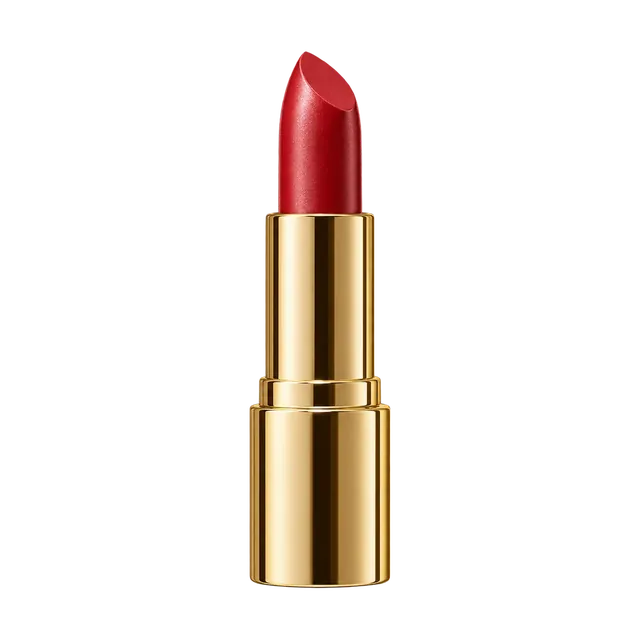
The catalogue also has sample products to try a composition before you upload yours, such as a “Skincare set”, a “Skincare jar” and a “Lipstick”. In your real scene you upload a photo of your own product as the reference, and Lenci describes it in the instructions so that it appears as it is.
Beauty close-ups with a model
For make-up, light fragrance and campaign pictures, choose a model and the “Close-up” framing. With the “Hair up, uncovered” head option you pick a hairstyle such as “Sleek bun” or “Slick · bold lip”; with a hijab, make-up stays a choice: “Natural makeup”, “Soft glam” or “Bold lip”.
You choose the expression from “Neutral”, “Soft smile”, “Laugh” and “Intense”. The ready look “Beauty close-up · soft glow” combines these settings with a beauty-dish key light and the “Soft focus” effect, so you start from it and change what you need.
Colour and texture accuracy
The shade of a lipstick or a foundation is part of the product itself, so make sure the AI gets a reference photo with accurate colour. Photograph the product in soft daylight on a plain background, and add a close-up of the texture or of the colour inside the pack.
In the Studio, choose the “Neutral” colour grade when true colour matters more than mood, then compare the result with the product before you publish. The AI can shift a shade slightly, and a product photo must not mislead the buyer.
Light setups
Every light in the Studio has a type, an intensity, a colour temperature and a softness, and you control three of them: key, fill and rim. Types that suit beauty include:
- “Beauty dish”: a focused, soft key light for faces, as in the ready close-up look.
- “Softbox”: even light for packaging and store photos.
- “Ring light”: even frontal light that leaves a round catchlight in the eye.
- “Window”: natural side light for everyday scenes.
Store and social formats
The instructions ask for the format you chose, and you crop the result in the Editor when needed. How to shoot with your own account is explained on Shoot with your own ChatGPT, Gemini or Grok.
- Square 1:1: for product pages in your Salla or Zid store, and for Instagram and LinkedIn.
- Lookbook 4:5: for an Instagram portrait post.
- Story 9:16: for Stories, TikTok and Snapchat.
Ready beauty looks
Start from one of the two looks, then put your product in place of the sample. For related ideas, read Perfume and oud photography and Jewellery and watch photography.
Frequently asked questions
Will the product's colour stay the same?
It stays close when the reference photo has accurate colour, but the AI can shift a shade slightly. Use the “Neutral” grade and soft daylight, and compare the result with the real product before you publish.
Can I show the product on skin?
You can place your product next to a model in a beauty close-up. The AI does not guarantee how a product looks on skin, though, so never publish a picture that suggests a result your product does not deliver.
Can I shoot the whole range in the same style?
Yes. Build one scene with the backdrop, lighting and framing, save it as a look, then swap only the product in each shot so your store page stays consistent.
Should I make before-and-after pictures?
Lenci makes no claim about your product's results, and generated before-and-after pictures can mislead buyers. Follow the advertising rules that apply to your product in Saudi Arabia, as the Terms require.
Which reference photo works best?
A clear front photo of the pack on a plain background in soft daylight, then a close-up of the label, and another of the colour or texture if it matters. The front photo alone is enough to start; every extra angle sharpens the result.